

Meaningful Jewelry: How to Design Your Personalized DIY Pendant
The world of fine jewelry is increasingly personal. We’re moving beyond mass-produced pieces and seeking meaningful, one-of-a-kind treasures. This shift is why DIY pendant making is not just a trend—it's a movement. Creating your own piece allows you to translate a memory, a milestone, or a personal philosophy directly into a wearable object.
For the aspiring jewelry designer or the seasoned enthusiast, there is no better starting point than a simple pendant. It’s a canvas that offers infinite possibilities without the complexity of rings or bracelets.
This comprehensive, step-by-step guide is designed to empower you to design and assemble your first custom pendant necklace. By the end, you will have a clear blueprint for creating a sophisticated, meaningful, and enduring piece of DIY jewelry for beginners that you'll be proud to wear daily.
What Is a DIY Pendant?
At its heart, a pendant is an ornament designed to hang from a chain or cord. The term "pendant" comes from the Latin word pendere, meaning "to hang." It is the central, decorative focus of a necklace.
In the context of DIY jewelry for beginners, a DIY pendant is a piece you design and assemble yourself using pre-fabricated components, findings, or simple, non-casting techniques.
DIY Pendant vs. Ready-Made Pendant
| Feature | Ready-Made Pendant | DIY Pendant |
| Origin | Designed and manufactured by a brand or jeweler. | Designed and assembled by you, the wearer. |
| Meaning | Sentimental value is assigned after purchase. | Sentimental value is woven into the pendant design from the start. |
| Cost | Includes materials, labor, branding, and markup. | Primarily materials cost; allows for greater creative freedom within budget. |
| Customization | Minimal or none. | Complete control over size, shape, materials, and finish. |
Pendants are the ideal foundation for your first DIY pendant. They require minimal specialized tools and allow you to focus purely on the aesthetics and symbolism of the piece. This straightforward approach builds confidence and mastery before you move on to more complex pieces.
Why Pendants Are Ideal for First-Time DIY Jewelry Makers?
Pendants serve as the perfect entry point into jewelry making primarily because they require minimal tooling and fewer complex techniques than earrings or rings. The assembly often relies only on jump rings and bails, which are secured using simple pliers. This focused simplicity allows beginners to concentrate solely on design aesthetics, material quality, and personal meaning, accelerating the learning curve dramatically.
Step-by-Step Guide to Designing Your First DIY Pendant
The secret to a successful handmade pendant necklace isn't complicated soldering or advanced techniques—it’s a thoughtful design process. This is the ultimate guide on how to design a pendant that feels both personal and professionally finished.
Step 1 – Start With Meaning, Not Materials
Before you browse components, take a moment to consider the story your pendant will tell. This foundational step is what separates a beautiful piece of jewelry from a truly special one.
Ask yourself:
- Who is this for (even if it's for yourself)?
- What feeling do I want to evoke? (e.g., strength, calm, love, focus)
- Is there a specific date, initial, or symbol that holds importance?
Once you have the meaning, translate it: Strength might be a geometric bar; Calm might be a smooth, colorless stone; Love might be an intertwined circle. This is how the design process truly begins.
Starting with symbolism and emotional value ensures you create a truly personalized pendant necklace. You'll find the best materials later; the meaning must come first.
Step 2 – Choose a Beginner-Friendly Pendant Shape
For your first DIY pendant, simplicity is the ultimate sophistication. Complicated, asymmetrical forms are challenging to balance and assemble neatly.
Best Shapes for Your First DIY Pendant:
- Simple Geometric Shapes: A clean circle, square, or teardrop provides a balanced, timeless look.
- Bar/Stick: This modern, minimalist shape is easy to attach to a chain and always looks polished.
- Single Bead or Charm: Often the easiest starting point, using a pre-drilled gemstone or charm that simply needs a jump ring and a bail (the component that attaches the pendant to the chain).
Size & Proportion Tips:
A pendant that is too large can overwhelm the wearer, while one that is too small can be lost. For a simple everyday design, aim for a diameter or length between 10 mm and 30mm (0.4 in to1.2 in). This size ensures your simple pendant design is visible without being heavy.
Visual Balance Explained Simply: A well-designed pendant has a clear center of gravity. When you look at your shape, ensure the bulk or visual weight rests securely at the base or center. This prevents the finished piece from looking top-heavy or rotating awkwardly when worn.
Step 3 – Select the Right Materials for Daily Wear
A beautiful design deserves materials that will last. For DIY jewelry for beginners, focus on durability, skin-friendliness, and maintenance.
| Material | Durability | Appearance & Feel | Maintenance & Notes |
| Sterling Silver (925) | Excellent. | The foundation of fine jewelry. Its classic, cool luster deepens beautifully as it develops a unique patina over time. | Requires occasional polishing to prevent tarnish. Hypoallergenic. Ideal for pieces meant to be worn and treasured daily. |
| Stainless Steel | Outstanding (resists scratches, tarnish, and rust). | Modern, slightly darker gray tone. | Virtually maintenance-free. Highly durable and budget-friendly. |
| Gold Vermeil | Very Good. | Looks and feels like solid gold (often sterling silver base with thick gold plating). | Lasts longer than standard gold plating but should be treated gently. Avoid abrasives. |
Choosing quality components in these metals is the single most effective way to make your first DIY pendant look sophisticated, not "crafty."
Step 4 – Decide How Your Pendant Will Be Worn
The length of the chain fundamentally changes the entire look and feel of your necklace. A thoughtful pendant design must account for where it sits on the body.
Necklace Length Guidance:
| Length | Style & Placement | Best For |
| 16 inches (Choker) | Sits high, close to the neck. | Minimalist pendants, high necklines. |
| 18 inches (Princess) | The most common length; rests near the collarbone. | Everyday wear, single pendants, excellent visibility. |
| 20 inches (Matinee) | Falls a few inches below the collarbone. | Layering, V-neck tops, showcasing a slightly larger DIY necklace pendant. |
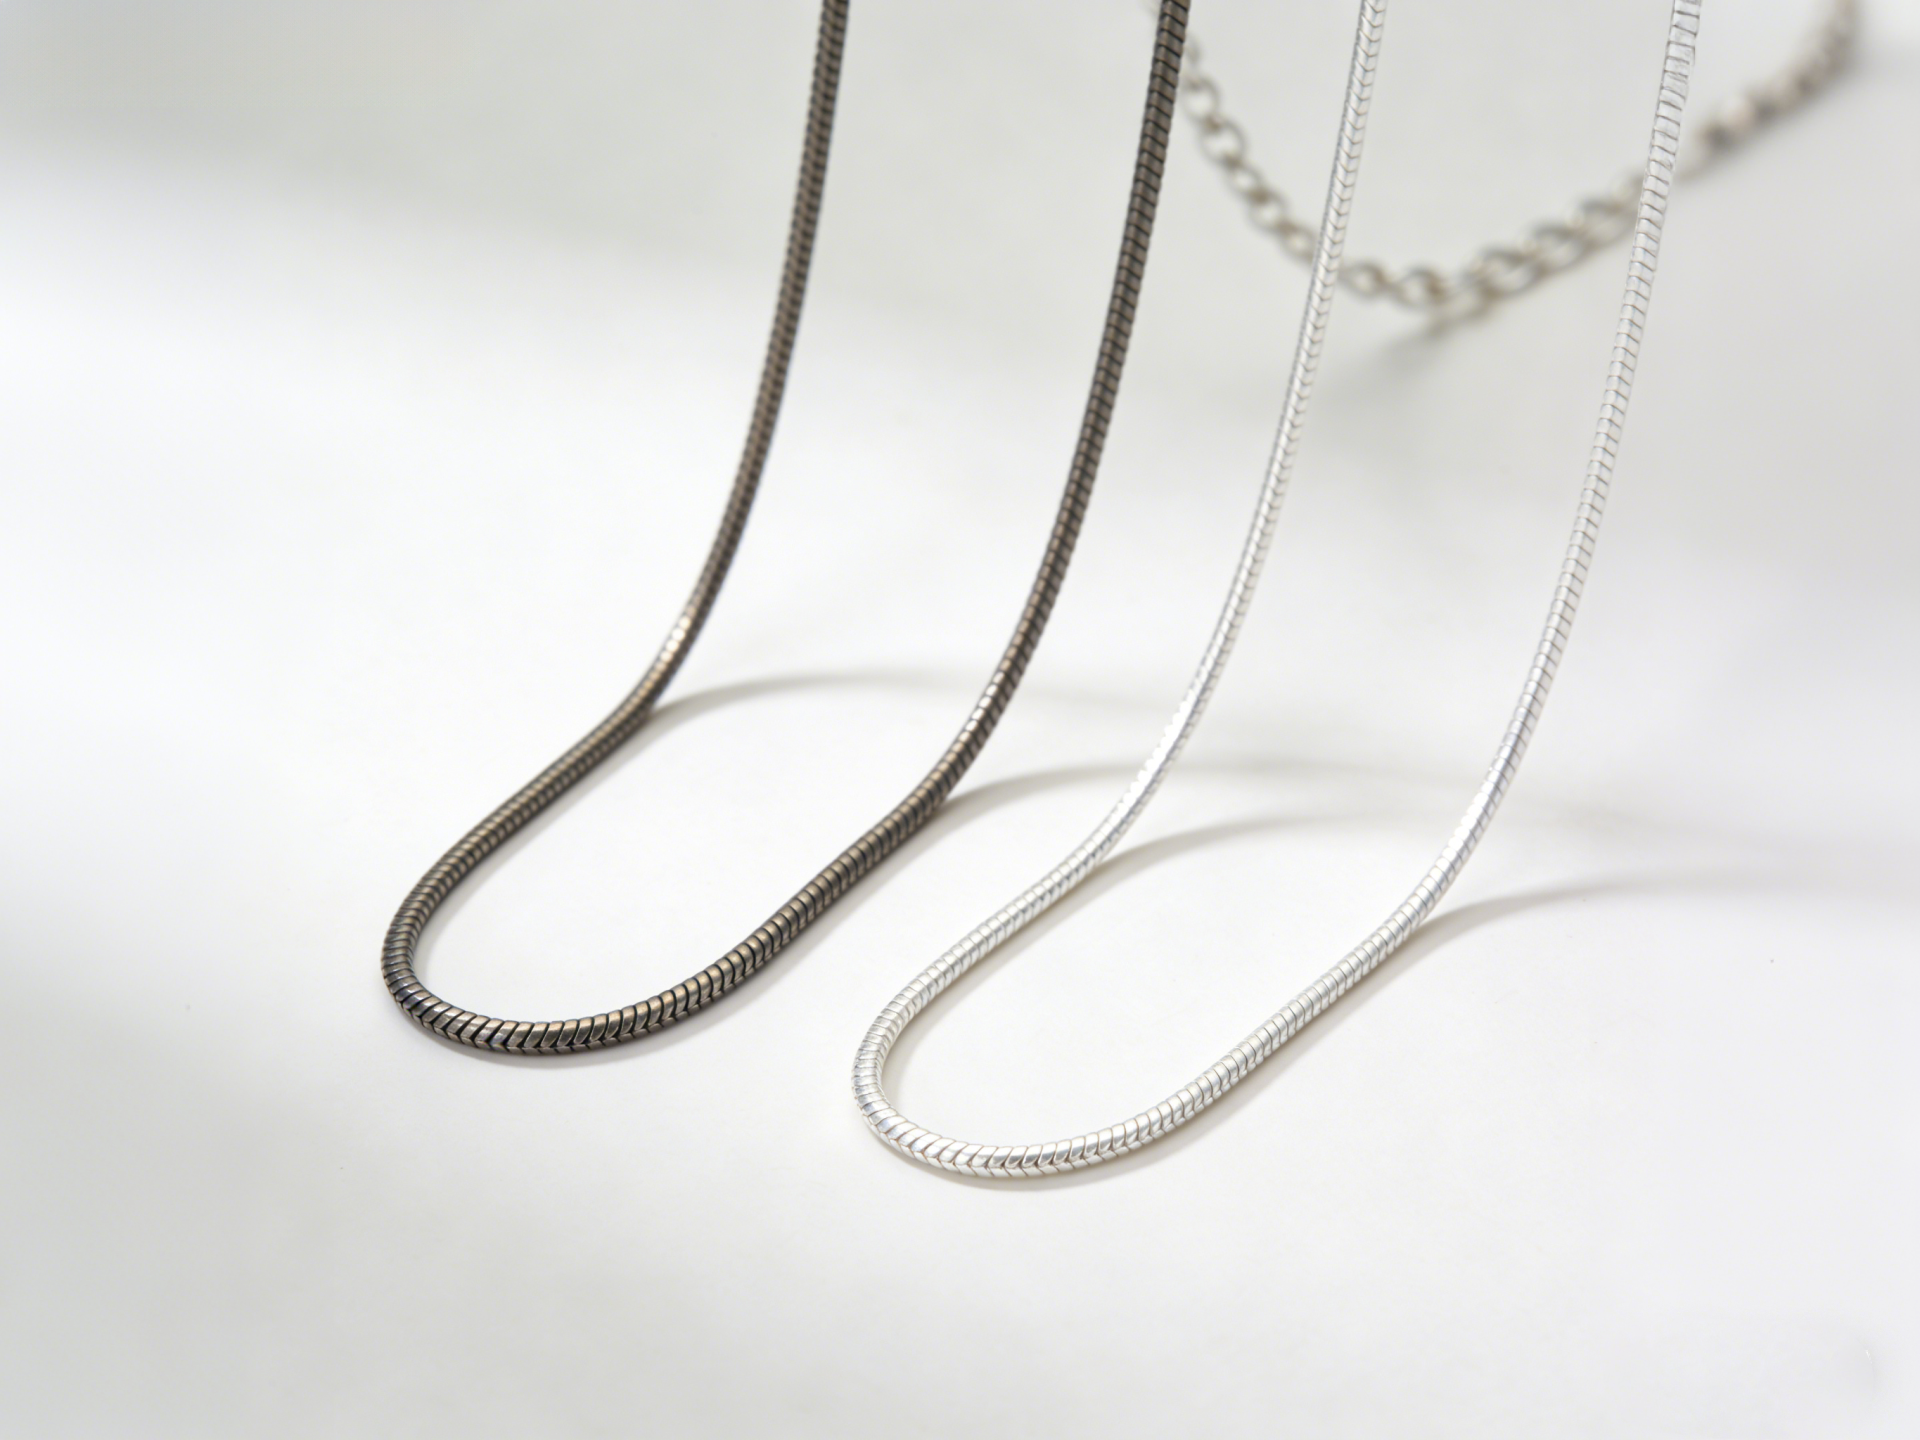
Chain Compatibility:
Ensure the bail or jump ring on your pendant is large enough for the chain to slide through easily. A delicate pendant on a chunky chain, or vice versa, will look unbalanced.
Step 5 – Pendant Assembly Basics
This is the practical, pendant making step-by-step phase. For a simple design, you only need three components: the pendant element, a jump ring, and a bail (optional, but highly recommended for a professional finish).
Before starting, ensure you have the absolute basics. For simple assembly, you will need two pairs of jewelry pliers—specifically, chain nose pliers and flat nose pliers. These tools are essential for the proper opening and closing of jump rings without damaging the metal.
For a visual guide on these fundamental steps, watch this tutorial on Basic DIY Necklace Assembly.
- Open the Jump Ring: Using two pairs of pliers, grip either side of the cut in the jump ring. Twist the ends away from each other (like opening a gate), do not pull them apart.
- Connect the Pendant: Slide your pendant element onto the opened jump ring.
- Attach the Bail (or Chain): If using a separate bail, slide the bail onto the jump ring. If not using a bail, slide the chain onto the jump ring.
- Close the Jump Ring: Twist the jump ring closed, twisting the ends back toward each other until they meet perfectly flush. A perfect closure is key to security and a high-end look.
- Secure to Chain: If you used a bail, the pendant is now ready to slide onto your chain.
Beginner Mistakes to Avoid:
- Weak Closures: Never use your fingers to close a jump ring. It will not be secure and your DIY pendant could fall off.
- Using Too-Thin Pliers: Using jewelry pliers (flat nose or chain nose) ensures you do not scratch or bend your components.
Common Mistakes First-Time DIY Pendant Designers Make
Even with the best intentions, the learning curve in any beginner jewelry making guide can present small challenges. One of the best ways to ensure a successful pendant design is to learn from the errors of others. By avoiding these pitfalls, your first DIY pendant will look expertly crafted.
- Overcomplicating the Design: Beginners often try to incorporate too many elements (e.g., three different colors of stones, multiple dangling charms, complex textures). A sophisticated piece is often the result of restraint. Choose one focal point.
- Ignoring Wearability: A pendant that is too heavy will flip over or strain the chain. A design with sharp edges will be uncomfortable and catch on clothing. Always check the finished piece for comfort and smooth edges.
- Choosing Poor-Quality Materials: Cheap metal alloys can cause skin reactions, tarnish quickly, and lack the weight and luster of sterling silver or stainless steel. Investing a little more in durable materials is crucial for an evergreen piece.
- Not Considering Scale: A large pendant element on a very short chain can look bulky. Remember to match the size of the pendant to the desired length and weight of the chain.
Easy DIY Pendant Ideas for Beginners
If you need a concrete starting point, these simple concepts are highly popular, timeless, and offer immediate gratification for your DIY jewelry for beginners project.
-
Minimal Symbol Pendant:
- Concept: Use a pre-made, high-quality metal charm shaped like a star, moon, simple heart, or infinity symbol.
- Assembly: Simply attach the charm to a jump ring and then to a chain.
-
Initial / Letter Pendant:
- Concept: Personalization is always in demand. Select a high-polished letter charm that represents your own initial or a loved one's.
- Assembly: Most letter charms have a built-in loop, making assembly as easy as attaching a jump ring.
-
Small Gemstone or Lucky Charm:
- Concept: Incorporate a single, polished stone (like rose quartz for love or amethyst for calm). Ensure the stone is already drilled and comes with an eye pin or a simple wire-wrapped loop.
- Assembly: The stone replaces the main pendant element in the assembly steps above.
-
Nature-Inspired or Geometric Pendant:
- Concept: Focus on one element—a simple leaf casting, a smooth pebble, or a clean, circular metal stamping blank.
- Assembly: If using a stamping blank, you may need a simple metal hole punch before adding the jump ring.
How to Style a DIY Pendant So It Looks Polished
A major concern for anyone venturing into handmade pendant necklace design is whether the finished product will look professional. The difference lies in styling.
Solo Wear vs. Layering
- Solo Wear: If your pendant is the only necklace you wear, let it be the focal point. Use an 18-inch chain, and pair it with a simple top that provides a clean background for the piece. A simple pendant design shines best on its own.
- Layering: For a stacked look, choose your DIY pendant as the medium-length piece (e.g., 20 inches). Layer it with a shorter, plain chain (16 inches) and a much longer, simpler necklace (24-30 inches) that has no pendant or a very small, secondary element.
Making DIY Jewelry Look Intentional, Not Handmade
To elevate your DIY jewelry for beginners project:
- Focus on Finish: Always use polished, high-quality metals. Dull, cheap components are the fastest way to make a piece look amateur.
- Pair with Fine Jewelry: Don't hesitate to wear your DIY creation alongside an heirloom ring or a favorite pair of gold studs. The juxtaposition of fine pieces next to your personalized creation elevates the entire look.
- Clean Lines: Ensure the clasp, jump rings, and chain are all in good condition and match the material of your pendant. Consistency is key to a polished appearance.
Conclusion
Designing your first DIY pendant is more than just a craft project; it is the beginning of your journey into personal jewelry design. It is an opportunity to slow down, infuse meaning into a material object, and create a sophisticated piece that reflects your unique style.
Remember that simplicity is your friend. The most enduring and expensive fine jewelry pieces often feature the most refined, clean lines. Your simple pendant design—born from a clear vision and executed with quality components—will not only rank high in your personal collection but also serve as a daily reminder of your creativity.
We encourage you to explore the world of higher-quality findings, unique chains, and precious metal components. Let your first DIY pendant be the gateway to designing a collection of truly meaningful jewelry. To begin your journey with confidence, consider starting with a foundational set of sterling silver findings and a simple pair of professional pliers.


Comments